Installable Java Apps with jpackage


Introduction
Would you like to package your Java application so that anyone can install it and run it without first having to install Java? Would you like to distribute your work just like any other native application for Mac, Linux and Windows? In this article I show how I did this for my Open Source project, what problems I encountered, and the solutions that I found. I hope that my experience will be a useful guide to anyone else attempting this in their own project.
This is an update to my previous article, Using the Java Packager with JDK 11. In that piece, I described how to use a very early, pre-release build of the Java Packager to create the installable bundles. Now we have the full, production-ready jpackage tool available in JDK 16, things are much easier. I’d strongly recommend using jpackage from the JDK now, as described in this article rather than the older method described in my previous post.
VocabHunter: The Application Being Packaged
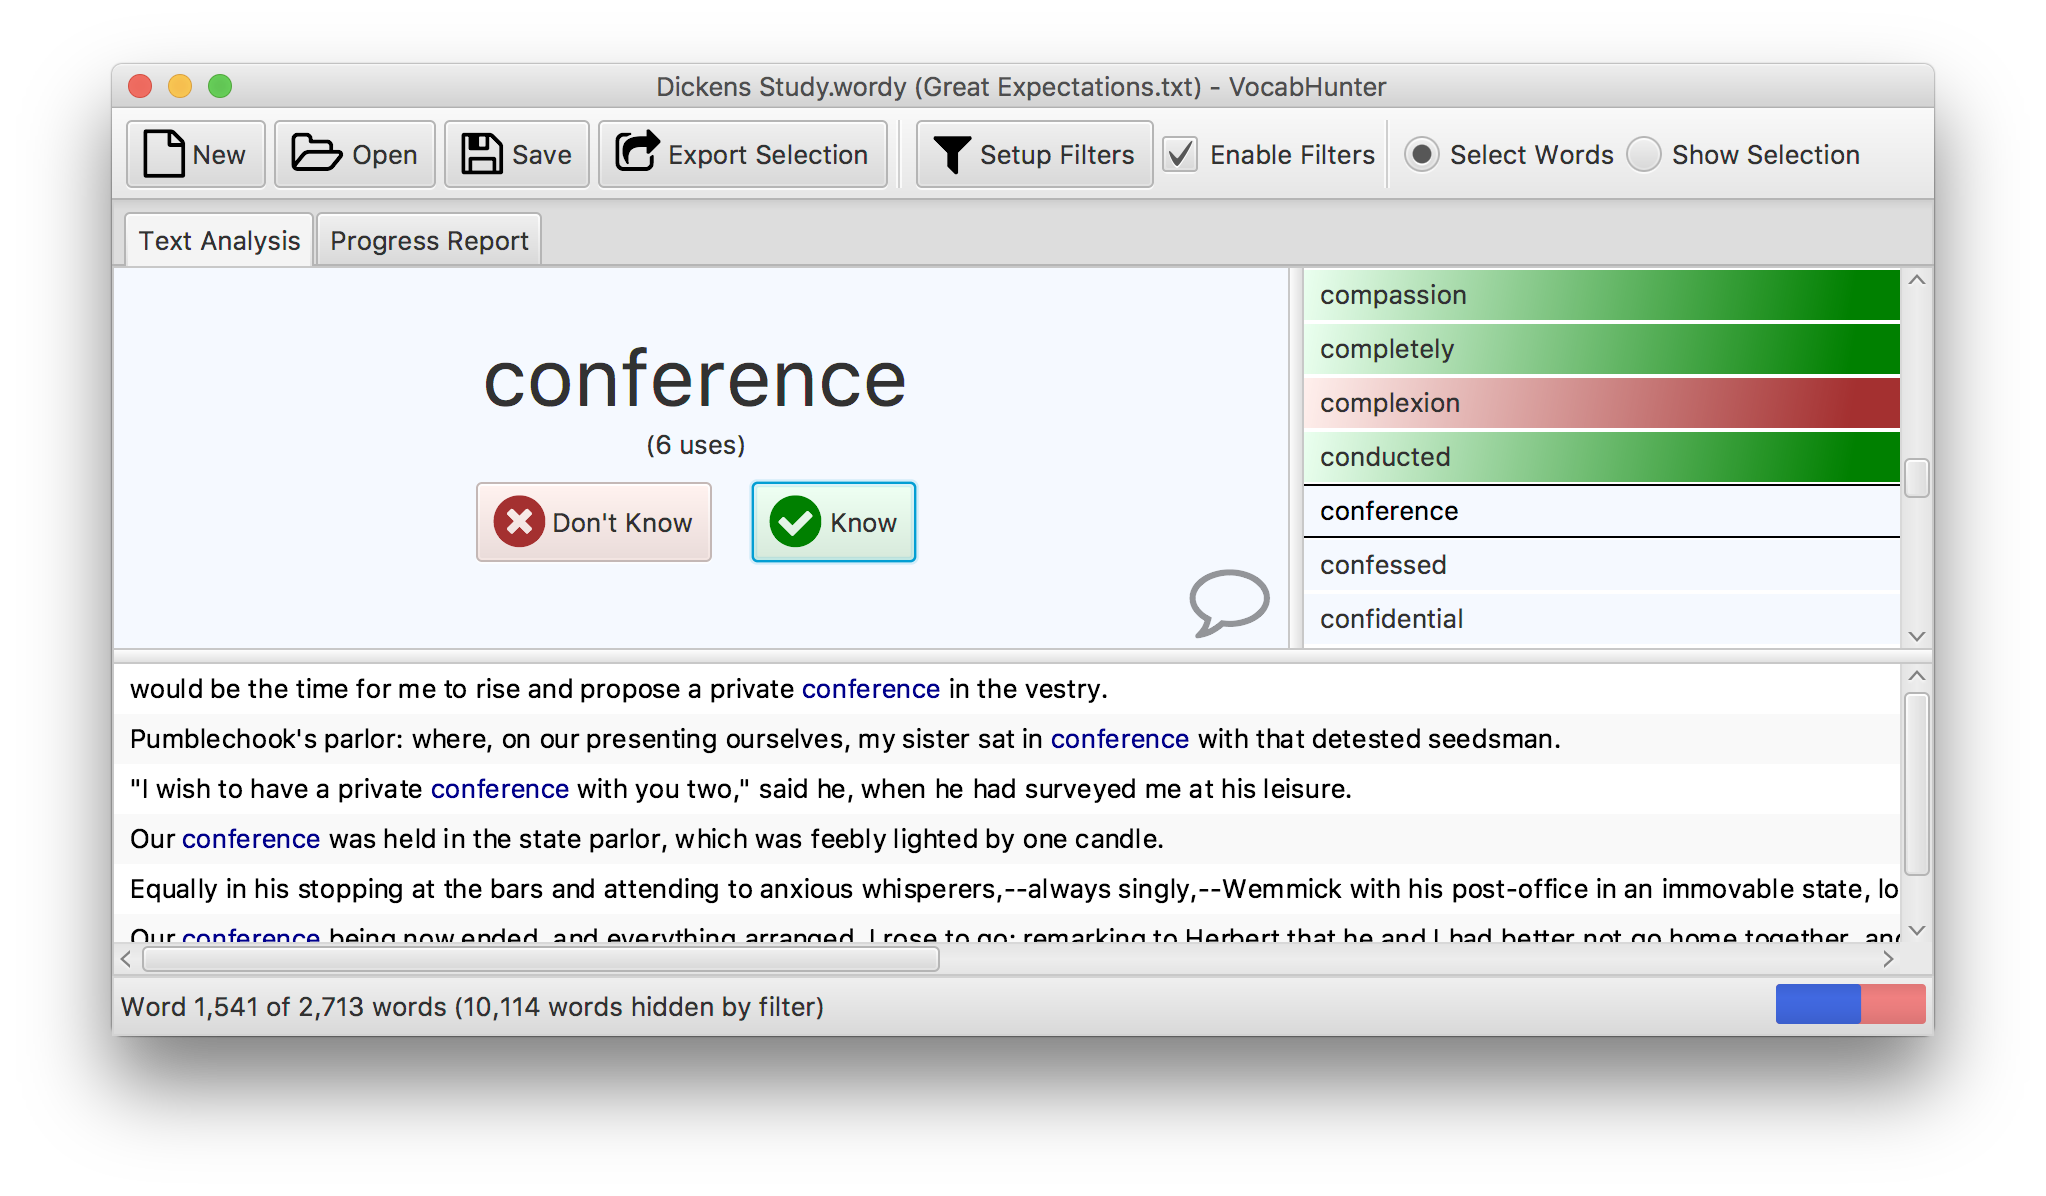
The application being packaged is VocabHunter, an Open Source program to help people who are learning to read in a foreign language. All of the source code is available on GitHub and I encourage you to fork the repository. The project is live and will change over time, so I’ve fixed all the links here to v2.3.0 so that you can follow along. The application itself is entirely self-contained, has a JavaFX user interface and runs on Mac, Linux and Windows.
VocabHunter is intended to help a user who wants to read a novel or other text in a foreign language. The program guides the user through the most important words in the document to enable them to pick out any words that are new to them and that they need to study. During this process of document analysis, the user is able to save their session out to a file. The session files have the extension .wordy and as part of this packaging work, these files need to be associated with the application. I think that this situation will be common to a lot of applications, and most readers will be familiar with programs like Microsoft Word where double-clicking a .doc file will open that file in Word.
What Are We Trying to Achieve?
At this point, it’s worth spelling out exactly what I want to achieve. Here’s a list of the main aims:
- It should be simple for a non-technical user to install the packaged software.
- Once installed, the software should run just like any other program on the system.
- There should be installable bundles for Mac, Linux and Windows.
- The application should have a launch icon that then shows with the application when it is running, for example in the Dock on the Mac.
- When the packaged software is running, only the application windows should show. There should be no shell or batch file window left in the background.
- The installer should register the file extension
.wordywith the operating system. Session files (.wordyfiles) should then be shown in the operating system file browser with the associated session file icon. - Double-clicking a session file (
.wordyfile) should open up the packaged application and show the saved session.
![]()
The Tools for the Job
To package up the software we need the right tools for the job. Here is a list of the main software I use in this example:
- AdoptOpenJDK provide pre-built JDK 16 binaries. These are a great choice for an Open Source project.
- Key to this is the jpackage tool itself. This is now included as a part of the JDK.
- jlink is used by jpackage to reduce the included parts of the JDK to just those modules that we actually need. Again, this doesn’t need to be downloaded and installed separately as it comes with the JDK.
- You will need the WIX Toolset on Windows for building installable bundles.
- On Ubuntu Linux, you need FakeRoot and BinUtils that are easily installed using apt.
- It is convenient to include the creation of the installable bundle as part of the standard build process for the software. VocabHunter is built using Gradle, so I have placed the packaging under the control of the Gradle build. Since VocabHunter uses the Gradle Wrapper, you don’t need to download and install Gradle separately.
- VocabHunter has a JavaFX user interface, so we need the JavaFX module files. The Gradle build for the project downloads these from Maven Central.
Running jpackage
The output of jpackage depends on the operating system for which we are building the installable bundle. jpackage supports various different types of installers but here are the outputs I use for the three target operating systems:
- On the Mac I create a
.dmgimage file. When opened, this guides the user to install VocabHunter in theApplicationsdirectory. - On Linux I create a
.debbundle. This can then be installed directly on Debian-based systems such as Ubuntu Linux. - On Windows I create an executable that when run, guides the user through the installation.
In the VocabHunter build, jpackage is called from a Bash shell script, build-package.sh, on Mac and Linux and a batch file, build-package.bat, on Windows. These scripts are launched by the Gradle build script, build.gradle.
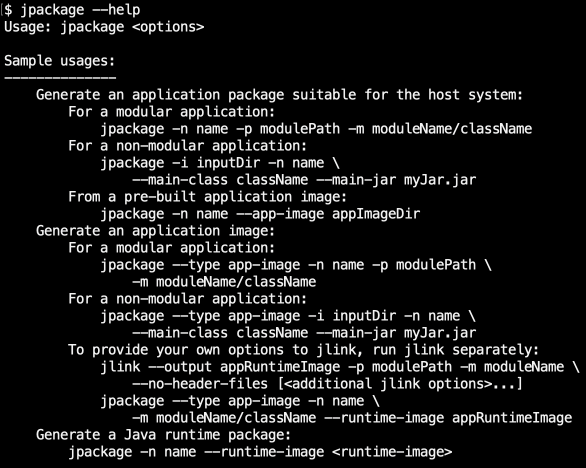
You can get a full list of the options available in jpackage by running jpackage --help. Here’s a flavour of some of the available help:
jlink
Starting with Java 9, the JDK is now modularised. This is great news for anyone building an installable bundle as it means that you need only include those parts of the JDK that your project requires. Amongst other things this helps to reduce the size of the bundle file created at the end of this process. If you’re interested in seeing an example of how jlink can be used, take a look at this article by Simon Ritter that provides a lot of useful detail.
When you run jpackage, you pass it a list of the Java modules that your project needs. jpackage then takes care of making the call to jlink to ensure that you have just the parts of Java required for your project. To make this work, you need to pass jpackage a list of modules. For VocabHunter you can see this list in the build.gradle file. I obtained this list using a combination of jdeps and a bit of trial and error, and you’ll probably find the same works for you and for your project.
Wrapping It All up with Gradle
I chose Gradle as the build tool for VocabHunter. I decided to keep the shell and batch scripts simple and include the real logic in the Gradle script, build.gradle. This makes it easier to diagnose and fix problems.
The following shows an example of launching the build on either Linux or the Mac:
$ ./gradlew clean createBundle
Conceptually, calling the createBundle Gradle task does the following, in order:
- Copy the Java JAR file dependencies into place. This includes the JavaFX modules.
- Prepare the file association properties file. This file is later passed to jpackage with information about the
.wordyfile extension for VocabHunter session files and the icon to associate with them. - Launch jpackage. This is done by running build-package.sh on Linux and Mac and build-package.bat on Windows.
Versions of Gradle prior to v7.0 do not work with JDK 16. For this reason, one of my first steps in getting the VocabHunter bundle creation working with jpackage in JDK 16 was to upgrade the version of the Gradle Wrapper that I use. To do this, I needed to fix a handful of deprecation warnings that I had in Gradle 6 and I’d recommend you do this in your project if you plan to take a similar approach to the one that I took.
JavaFX
VocabHunter has a JavaFX user interface that works well on Mac, Linux and Windows. For this reason it makes a lot of sense to offer an installable bundle in order to make it as easy to install as it is to use and jpackage offers this. However, it should be noted that jpackage isn’t just intended for JavaFX-based applications and so it may also be applicable in your Java software even if you don’t use JavaFX.
JavaFX is no longer bundled with the JDK. In my previous article I stated that you need to download the JMOD files for JavaFX. However, thanks to the help of José Pereda, I’ve since found out that there’s no need to do this. The JavaFX files can be downloaded from Maven Central as part of the build using Gradle, and this is made even easier thanks to the JavaFX Gradle Plugin. Once the plugin is applied, it’s simple to copy the JAR files, ready for the installable bundle, as you can see here in the build.gradle file.
This article doesn’t go into detail about JavaFX but if you are interested in learning more about the subject, you might want to take a look at my article How JavaFX was used to build a desktop application. The article is based on my experience of creating VocabHunter.
Help, My Application Won’t Start!
If you’re anything like me, you won’t get this working the first time around. You’ll find you have an application that doesn’t start up, and you’ll be left to debug the problem. So I thought I’d share a couple of tips I learned along the way to help.
Firstly, make sure you can run your application outside of your IDE. I achieved this in Gradle by applying the application plugin in the build.gradle. Then you can check that everything builds and runs from the command line, without the IDE, using the following:
$ ./gradlew clean :gui:run
Doing this, you might discover that you need to pass some extra command-line parameters to Java to handle a few complexities relating to Java modules. In the past I needed to do this but with recent updates to the dependencies that VocabHunter uses, I no longer need these workarounds.
The second trick I discovered is to first get everything working with a bundle type of app-image in jpackage before you move on to your final bundle type (here, dmg on the Mac, exe on Windows, and deb on Linux). You can see the bundle type for the Mac, for example here in build.gradle. Aside from running faster, app-image will leave you with a file that you can easily launch from the command line and thus see any launch errors that might appear on the console. If you try this with VocabHunter on the Mac, for example, you will find that you can launch the program with the following command line:
$ package/build/bundle/VocabHunter.app/Contents/MacOS/VocabHunter
The Finished Product
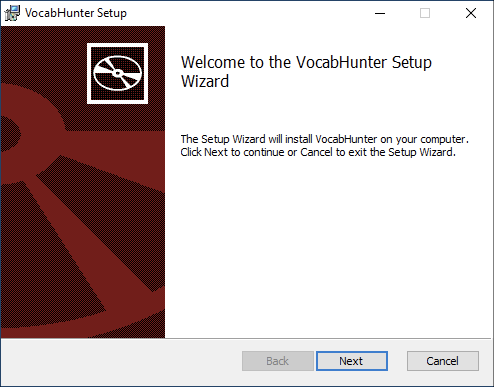
This really does work! Download VocabHunter to see an example and try it out yourself on your own project. Here’s the installer that I produced running on Windows:
On Linux:
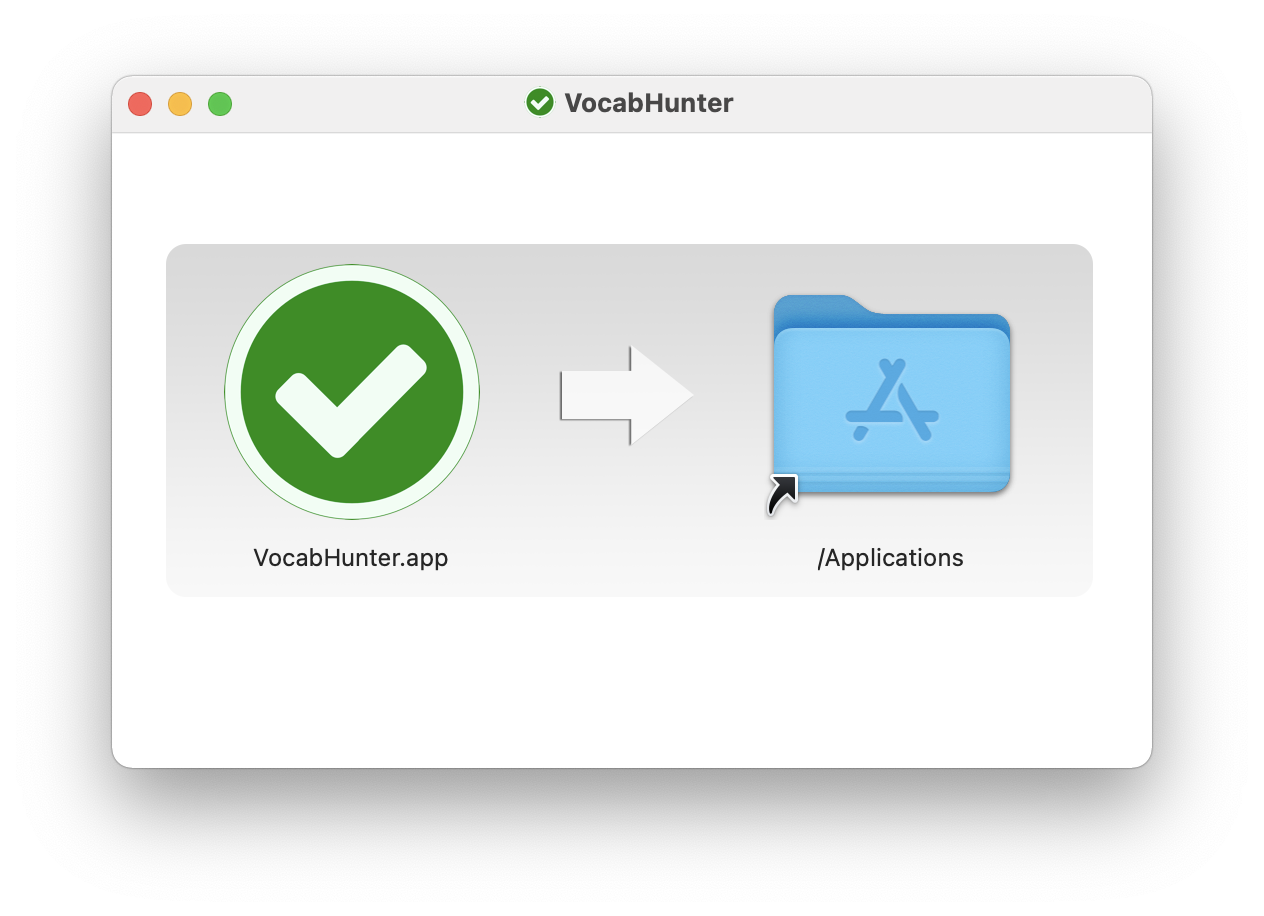
And here’s the install window on the Mac:
Fork the VocabHunter repository and try this out for yourself. The file PACKAGING.md contains the instructions you need.
Rough Edges: Windows
The VocabHunter installer appears with a very generic icon. It would be better for the user to see this with some clear indication in the icon that the software being installed is VocabHunter:
Rough Edges: Mac
The packaging process correctly associates the .wordy suffix with the VocabHunter application and assigns the corresponding icon to it. As expected, when the user double-clicks a .wordy file, VocabHunter opens. However, on the Mac, the saved session does not open. This is because VocabHunter never receives the information relating to the file that was opened. This problem only happens on the Mac: on Linux and Windows the session is opened as expected. You can see more details of this in this GitHub issue.
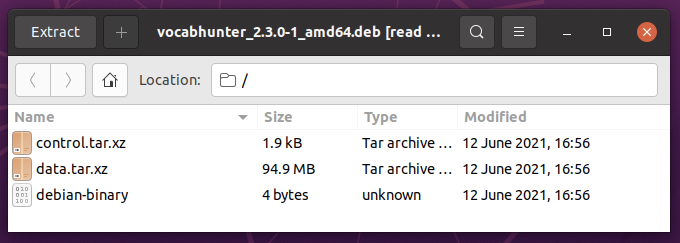
Rough Edges: Linux
The Linux .deb bundle installs without problems from the command line. If instead the user double-clicks the .deb file, Ubuntu 20.04 confusingly opens the Archive Manager rather than installing VocabHunter:
In addition to this, various exceptions are generated during the creation of the installable bundle on Linux. These don’t seem to cause a problem with the finished product, but it would be good to clean them up:
[17:16:11.606] java.io.IOException: Command [dpkg, -S, /lib/x86_64-linux-gnu/libfreetype.so.6] exited with 1 code
        at jdk.jpackage/jdk.jpackage.internal.Executor.executeExpectSuccess(Executor.java:91)
        at jdk.jpackage/jdk.jpackage.internal.LinuxDebBundler.lambda$initLibProvidersLookup$13(LinuxDebBundler.java:244)
        at jdk.jpackage/jdk.jpackage.internal.LibProvidersLookup.lambda$execute$1(LibProvidersLookup.java:73)
    ....
Finally, when running jpackage on Linux, a warning is emitted to say that a licence file should be included. I hope to get some time to investigate this and include the information that VocabHunter uses the Apache 2.0 Open Source licence.
Final Thoughts
jpackage is a great addition to Java. I’m sure I’m not the only one who really appreciates the work that was put in by the JDK team to create this very useful tool.
I hope that this article has inspired you to experiment with jpackage. Also, as the author of VocabHunter I’d like to invite you to download the program and try it out. It’s free and Open Source. Feel free to fork the VocabHunter repository on GitHub and play around with the code to see how it works. To keep up with the latest developments relating to VocabHunter and Santulator, follow @vocabhunterapp on Twitter.